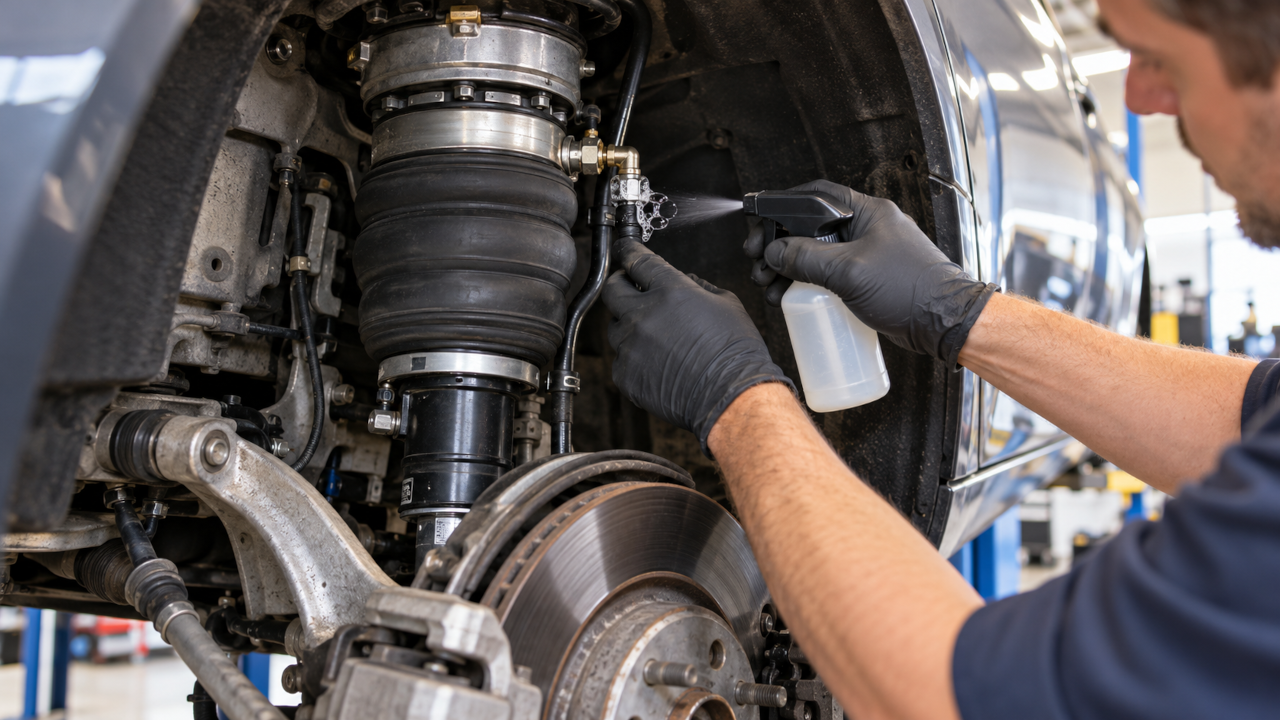
Air suspension problems usually develop gradually. The vehicle may sit lower after several hours, take longer to reach normal ride height, or make the compressor run more often. Later, one corner can remain low, the compressor may become noisy, or the ride may feel harsh. These symptoms can point to an air strut or compressor problem, but they do not prove that a complete assembly needs replacement. Leaks, worn valves, damaged lines, and restricted compressor intake can cause similar behaviour. In some cases, an air suspension repair kit can address a specific worn or damaged component without replacing the entire assembly, but the faulty section should be identified first.
Break the system into compressor, valve block, air lines and sealing points
Air suspension is easier to diagnose when divided into sections. The compressor supplies air, the valve block directs it, air lines carry pressure, while seals, fittings and air springs keep the system closed.
The compressor may receive too much attention. A restricted intake can reduce efficiency, while worn internal parts can lower output. However, unusual compressor operation may simply indicate that another component is allowing pressure to escape.
The valve block can also cause gradual pressure loss if its valves do not seal correctly. Other possible sources include:
- Air lines and fittings: cracks or loose connections can cause leaks.
- Seals and O-rings: worn seals allow pressure to escape.
- Filters and intake hoses: restrictions reduce compressor performance.
- Valve components: poor sealing can cause unwanted pressure transfer.
This helps determine whether the main assembly needs replacement or whether only serviceable components require attention.
Simple checks that narrow down the failed component
Diagnosis should begin with vehicle behaviour rather than the cost of a replacement part. Visual inspection can reveal damaged lines, loose fittings or obvious deterioration. Leak testing around accessible connections can expose pressure losses that are difficult to hear.
The compressor should be observed during operation. Note how quickly it starts, how long it runs and whether it cycles repeatedly. Excessive operating time may indicate weak output or a leak elsewhere.
The location of the problem also provides a useful clue. If one corner repeatedly loses height, focus on that circuit and its components. If the entire vehicle behaves abnormally, inspect the compressor, valve block, pressure supply and control system.
A practical diagnostic sequence includes:
- checking resting height after several hours;
- comparing the affected corner with the opposite side;
- inspecting lines, fittings and seals;
- testing suspected leaks;
- observing compressor operation;
- scanning for relevant fault codes.
Electronic diagnostics can identify pressure, sensor or valve-related faults, but codes still require mechanical interpretation. A stored code does not automatically prove that a specific component needs replacement.
Where an air suspension repair kit can save a complete-unit replacement
An air suspension repair kit can be useful when the main assembly remains structurally sound but its serviceable components have worn or failed. This may apply to seals, valve components, fittings and other replaceable parts.
If a compressor housing is usable while its internal service parts are worn, targeted repair may restore its function without replacing the complete unit. A similar approach can work for certain valve-block faults.
A kit is not a universal solution. Its contents must match the actual fault and the specific system. A compressor kit cannot repair a cracked air line, while new seals will not fix structural or electrical damage.
Before installation, confirm:
- which component has failed;
- whether the original assembly remains usable;
- whether the parts match its design;
- whether secondary damage is present;
- whether the repaired system can be tested safely.
Repairing only the failed section can be especially practical on older premium vehicles, where many parts of the original assembly may still be serviceable.
Fitment details and post-repair verification
Air-suspension components can look similar but differ in dimensions, pressure characteristics, electrical connections and internal design. Fitment should be checked by vehicle model, production year, VIN where appropriate and original-equipment reference number. Components from manufacturers such as WABCO or AMK may also have different configurations, so the original assembly should be identified before selecting a repair kit.
Before installation, check:
- compatibility with the vehicle and original component;
- condition of sealing surfaces and O-rings;
- correct installation of pneumatic connections;
- absence of secondary damage;
- proper operation after assembly.
After repair, test the system for leaks, verify ride height and observe compressor cycling. A diagnostic scan can confirm that relevant fault codes have not returned. A short road test should also confirm stable ride height, normal ride quality and correct system response.